

Sandstone Peak is one of Southern California’s most classic hikes. At 3,111 feet, it’s the highest peak in the Santa Monica Mountains. On this 6.25-mile hike, you’ll pass green hills, dramatic sandstone formations, scramble up volcanic rock at the summit, and get 360 degree views all the way to the Pacific Ocean.
It’s accessible year-round, but winter to spring is when it really shines. In spring, wildflowers carpet the trail. In winter, it’s your go-to when the San Gabriel Mountains are buried in snow. On some days, when the marine layer hovered just below the ridgeline, you’ll find yourself walking above the clouds.
If you need a snow-free hike in SoCal during winter, Sandstone Peak Trail is a great choice!
2026 Couch to Peaks Transformation
This hike is part of my hiking transformation series I’m documenting in 2026. Twelve hikes spread across the year, starting easier and gradually getting harder as I rebuild my fitness and confidence on the trail.
For Hike #1, I’m starting with Sandstone Peak. I’ve done this hike a few times before, which is exactly why I chose it. I know how it’s felt in the past — so this hike serves as a benchmark hike for me to start this series.
Throughout this journey, I’ll share hiking tips, recipes that fuel my adventures, and lessons learned along the way. So if you’re on a similar journey, you’re in the right place & I’d love to hear from you!


trail information
DISTANCE: 6.25 Miles
ELEVATION GAIN: ~1074′
TRAILHEAD: Sandstone Peak parking lot (Google Maps Link)
RATING: Moderate
BEST TIME TO GO: Winter to Spring
DOWNLOAD GPX:
Watch This Hike on YouTube
I made a YouTube video of this hike — watch it here. 👇

Trail Overview
Sandstone Peak sits within the Santa Monica Mountains National Recreation Area. There are two ways to reach the peak. Most people take the Mishe Mokwa Trail, which connects to the Backbone Trail and gradually climbs about 4.75 miles to the summit area, then loops back down via the Backbone Trail for 1.5 miles. This is the counter-clock route I’m describing here.
- Trailhead: Sandstone Peak Trailhead, Yerba Buena Road (Show on Google Maps)
- Parking: Sandstone Peak parking lot
- Trailhead Elevation: 2061′
- Summit Elevation: 3111′
- Distance: 6.25 miles
- Elevation Gain: ~1075′
- Estimated Time: 3-4 hours at moderate pace
The Hike Begins
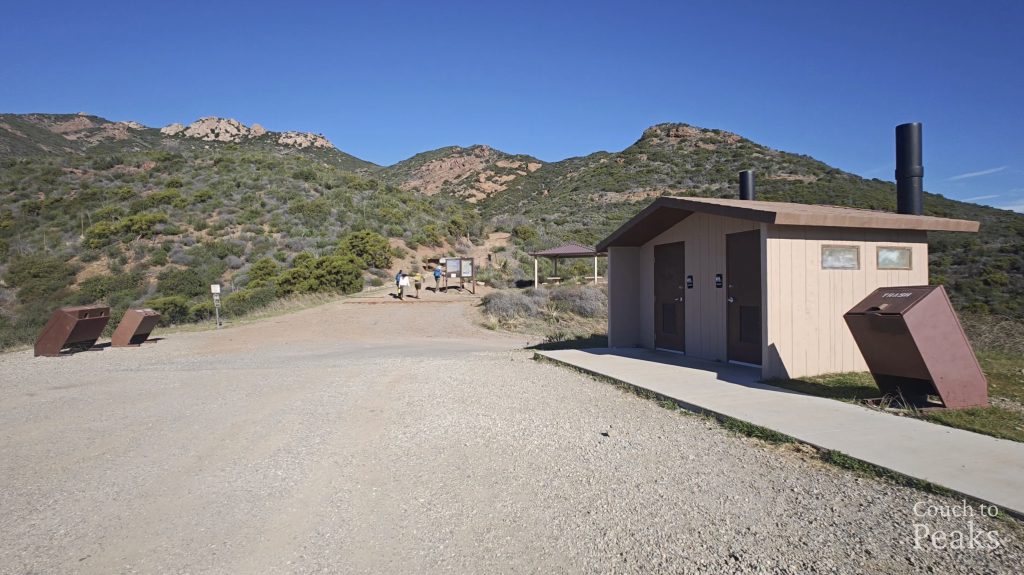
My journey started after a long, windy drive up Yerba Buena Road off Pacific Coast Highway. I pulled into the trailhead parking lot feeling a little queasy from all those curves.

I’ve been here when this lot is completely packed, but today? Plenty of space. There’s a restroom here too, which is always a plus.
And look at this view right from the parking lot! Look at those fluffy clouds.
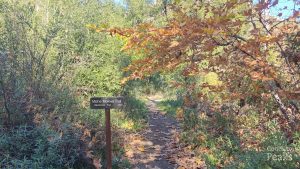
Starting Out On the Mishe Mokwa Trail
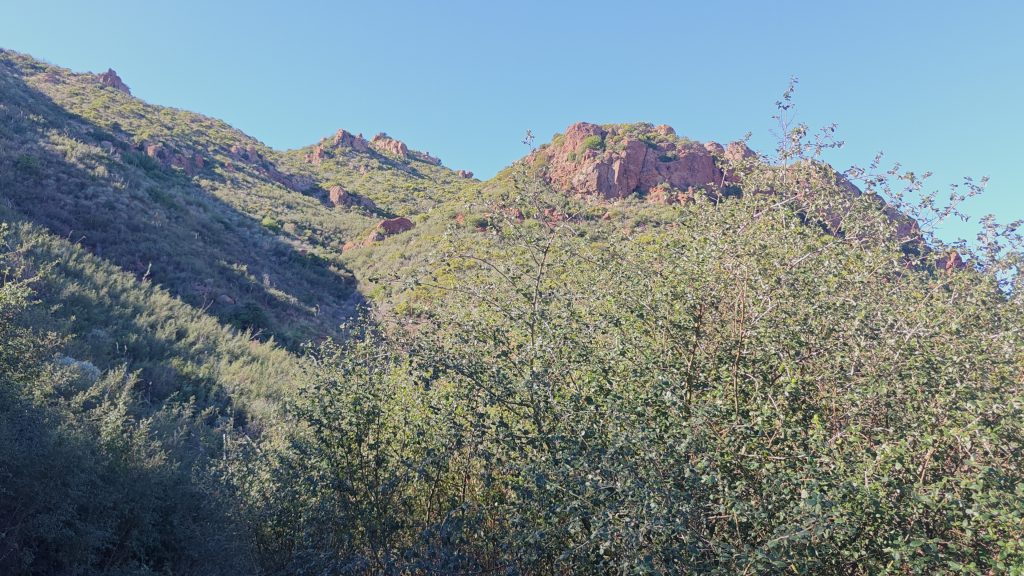
The Mishe Mokwa Trail begins with a gradual climb through rolling terrain. Early on, the path winds through dense green vegetation, framed by red and tan rock formations that rise sharply from the hillside.
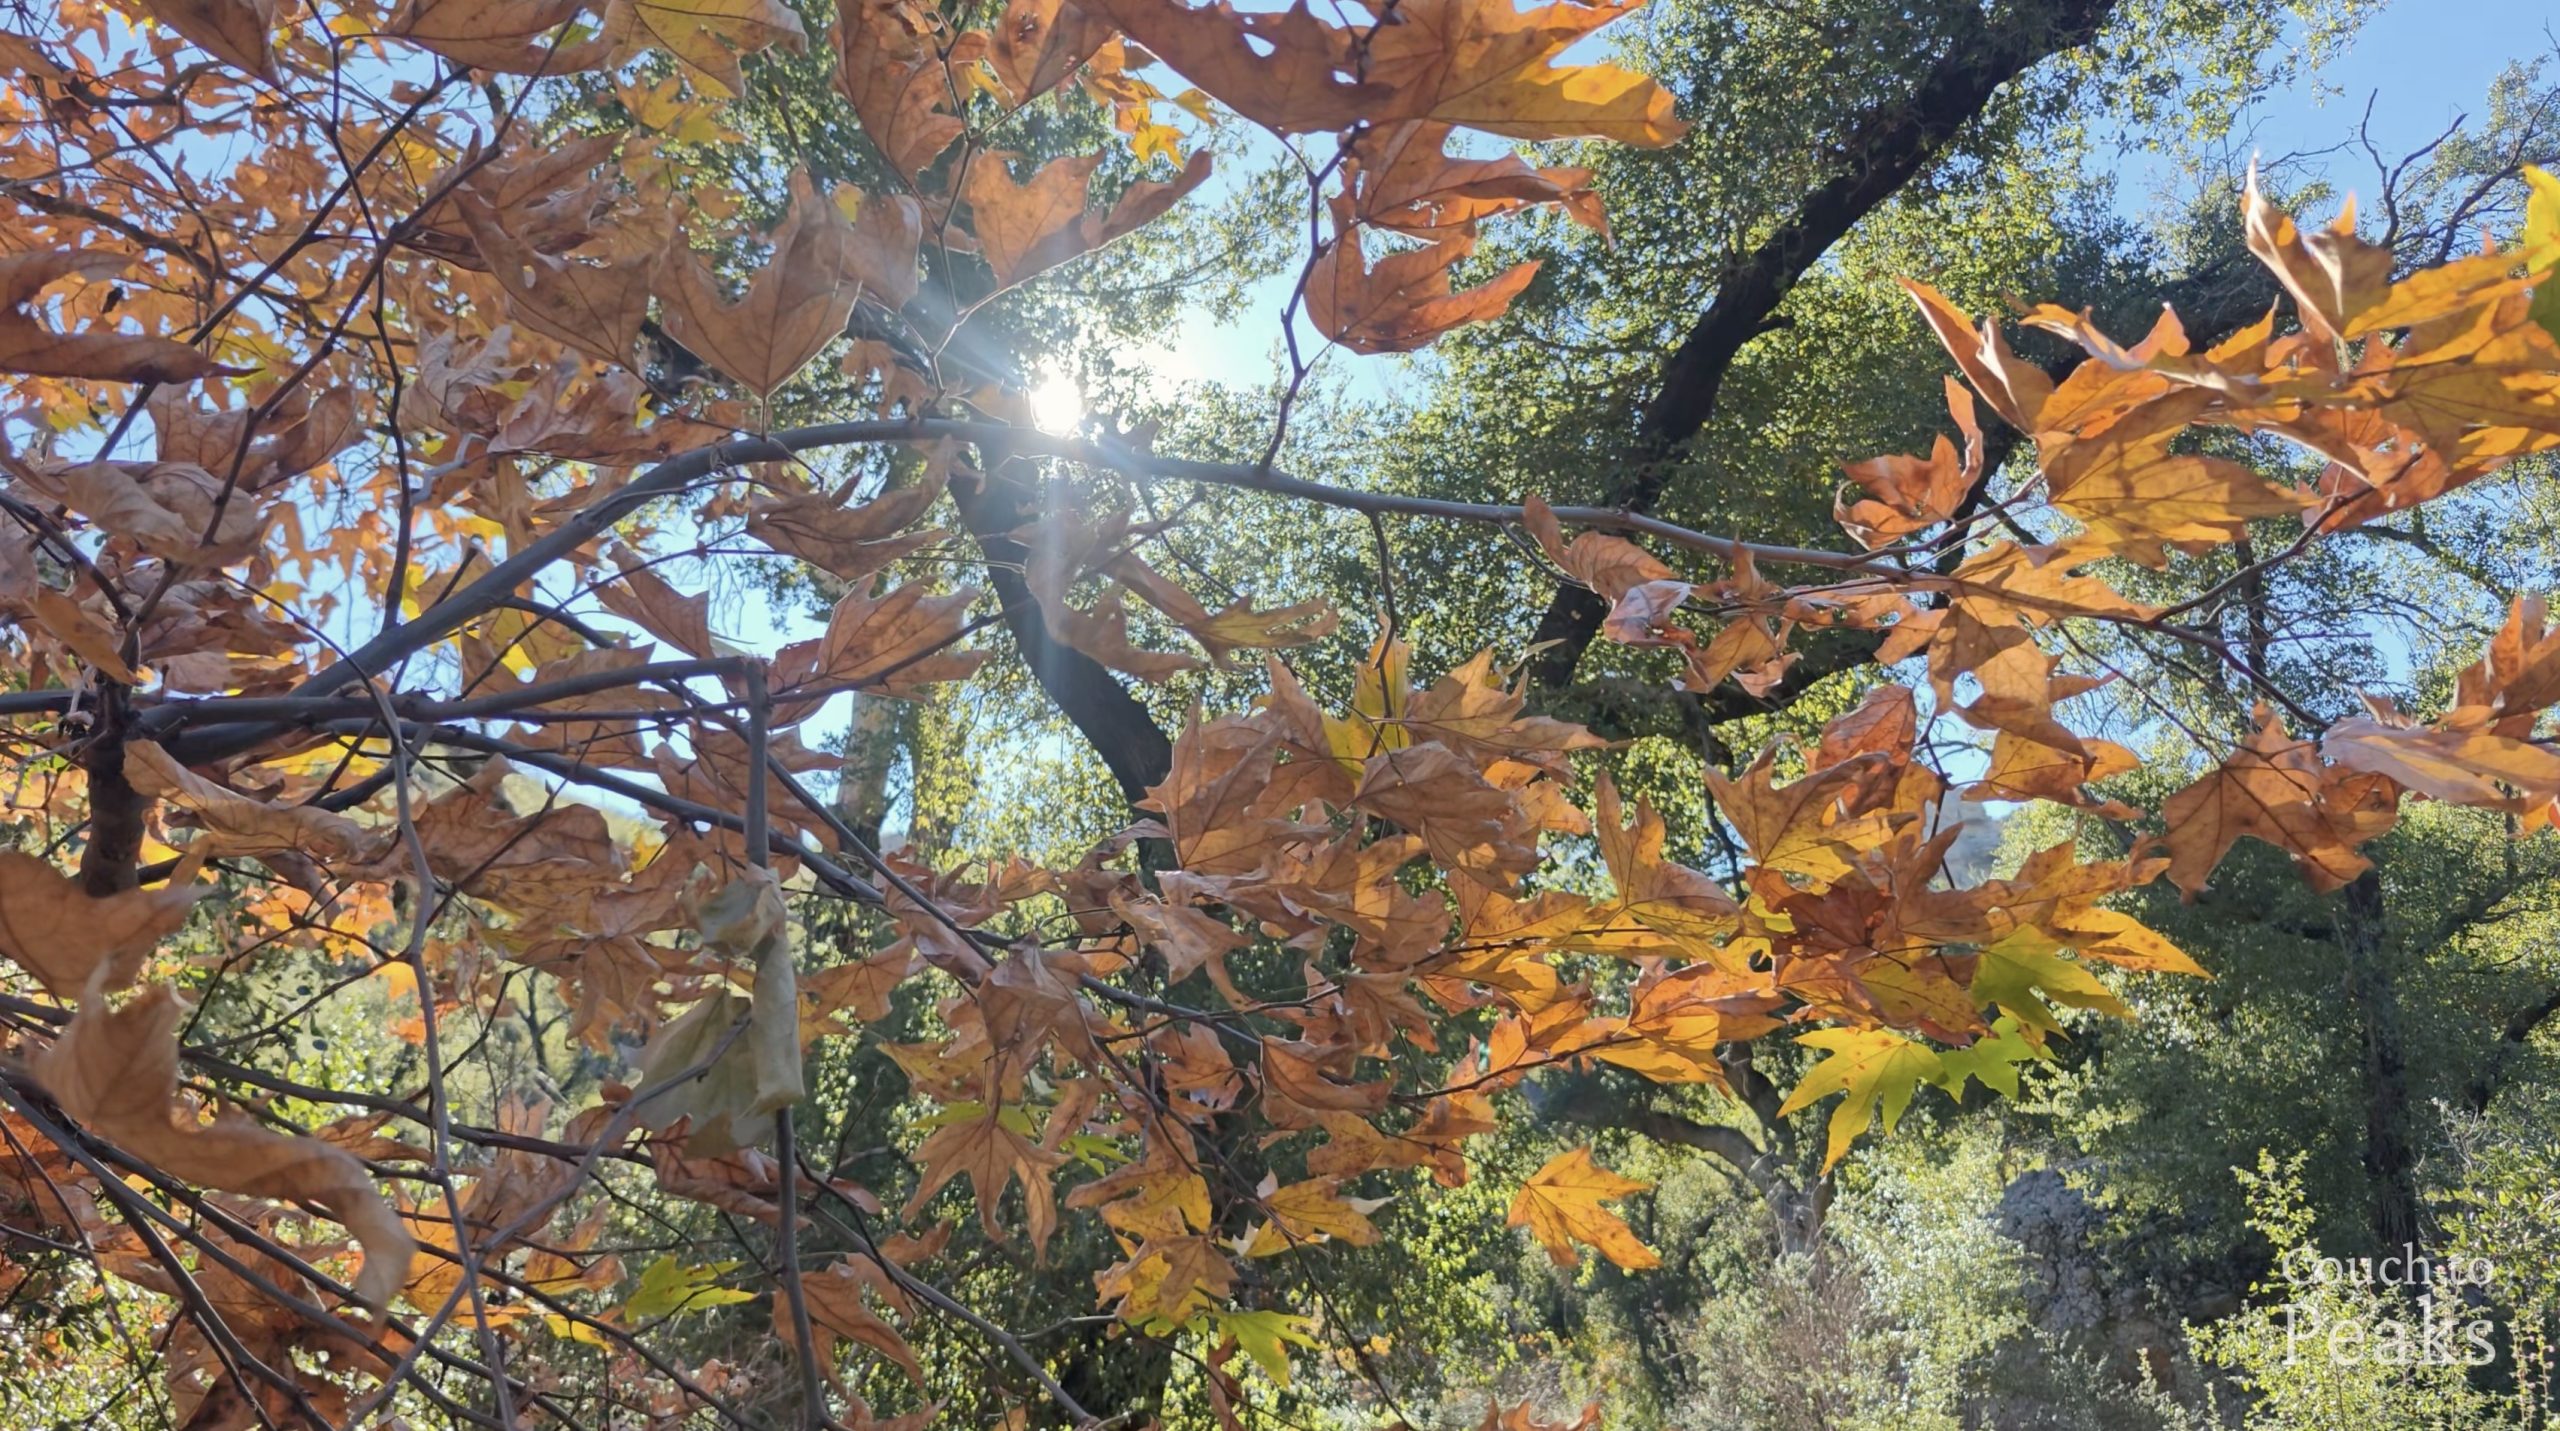
Honestly, I was expecting everything to be brown and crispy since it was January, but all that rain we got lately? It worked magic. Everything was green and lush.
In shaded pockets, small clusters of wildflowers appeared along the edge of the trail. Their colors stood out against the damp earth.

I kept going, stopping here and there to grab photos and just take in the views. The air was cool, the trail was quiet. This is why I love this hike.


Split Rock Decision & The Shift in Pace
About two miles in, I noticed my left foot feeling off. I’ve dealt with plantar fasciitis before, and the sensation was familiar—tightness in the heel that sharpened with each uneven step. I stopped at the table to stretch my calf and foot. The stiffness eased slightly, enough to continue.
I walked for another mile and the trail reached Split Rock, a large sandstone formation set beside a clearing with a picnic table.

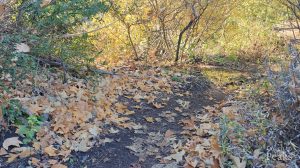
Patches of fall foliage lingered here, their muted reds and yellows contrasting with the surrounding stone.

But by this point, my plantar fasciitis had gone from a dull ache to a sharp jab with every step. I decided to take a break at the picnic table.
I sat there stretching and doing the mental math. I could turn around… but I was almost exactly at the halfway point. This trail’s a loop, so turning back meant the same distance either way.
I decided to push through, but I had to slow way down. The terrain beyond Split Rock grew rockier. Loose stones and uneven footing exacerbated my plantar fasciitis so I started picking my way around them, being very careful with my footing.
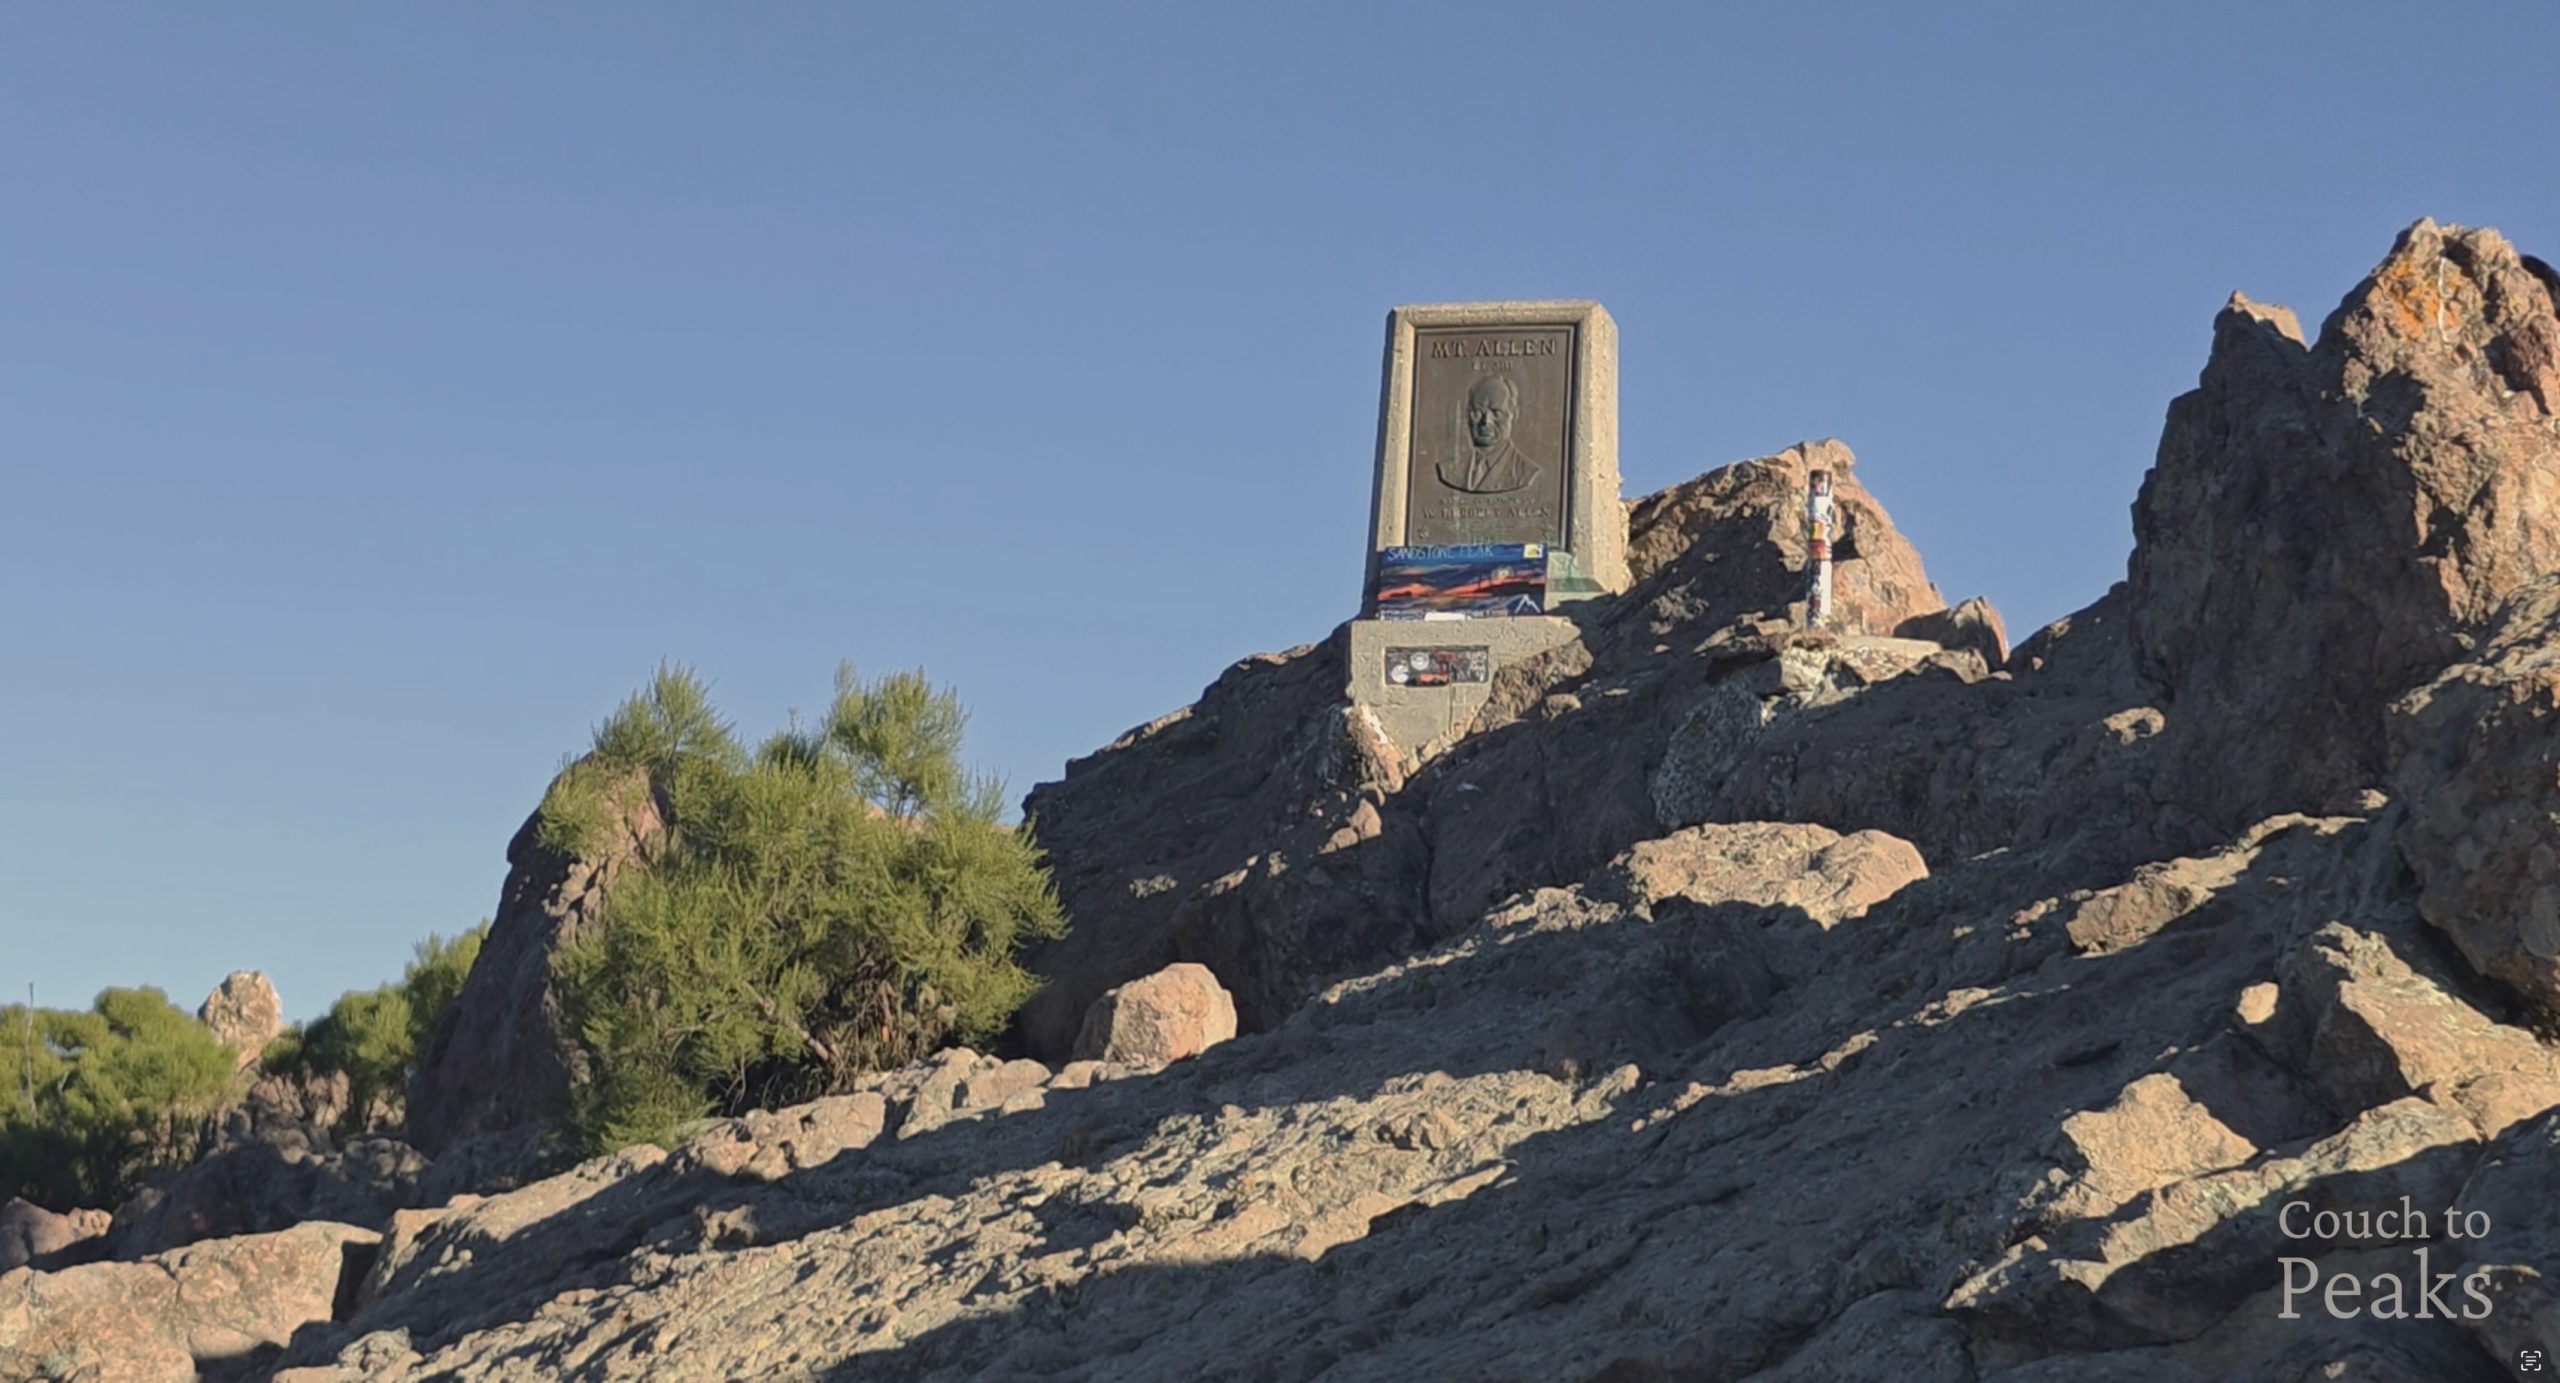
The Summit
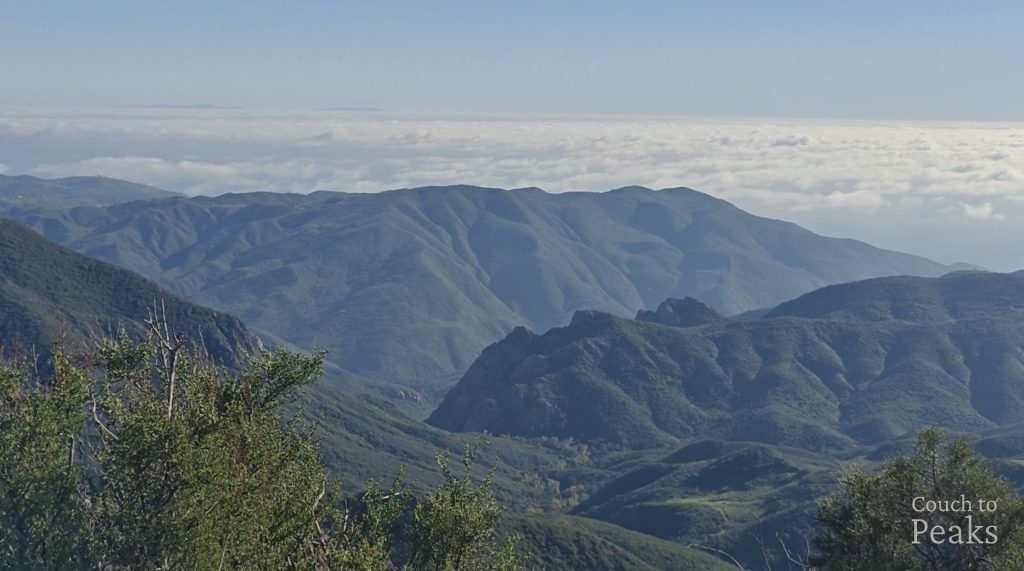
I kept going like this for another mile or so. Despite my foot, the views were incredible. That marine layer was sitting just below the trail like a blanket of clouds hugging the mountains. One of those moments where you remember why you do this.

After passing the Tri-Peaks junction, I knew Sandstone Peak was close. The thought of reaching the top—and only having 1.5 miles of downhill left—gave me a little boost.

The final approach to Sandstone Peak involves a short scramble over volcanic rock. Multiple use paths cross this section, worn into the stone by years of foot traffic. I missed the main line on my first attempt and followed a steeper route that required more rock scrambling than I remembered. After backtracking, I found the more established path and reached the summit.


The Descent & Post Hike Reflections
The descent was exactly what I needed— downhill, easier on my foot, and the views kept delivering.
The sun was setting and the sky gradually turned into warm shades or orange and pink.

Soon I arrived at the parking lot, a little bruised and sore, but so glad that I got to experience Sandstone Peak Trail on such a beautiful day.
Post Hike reflections
So what did I learn from hike number one?
First, listen to your body. My left foot has always been my problem side. I had a bad ankle sprain years ago, and ever since, my balance is slightly off on that side and it feels weaker. Same side that gives me plantar fasciitis. So instead of just pushing through and hoping it goes away, I need to actually do the work—stretching and strengthening exercises for my left foot.
Second, even trails you know can surprise you. I’ve hiked Sandstone Peak multiple times, but I still got turned around on that final scramble. Lesson learned: always download the GPX track, even when you think you know the trail.
Download Trail GPX
Frequently Asked Questions
Photos from the Hike


My 2026 Hiking Transformation Series
Welcome to my 2026 Couch to Peaks transformation series! Over 12 hikes, I’m progressively building my hiking fitness by tackling increasingly challenging trails across Southern California.
Check out the next posts in this series:
Leave a Reply